Installation Guide
Quick & Easy Setup for Android and iOS
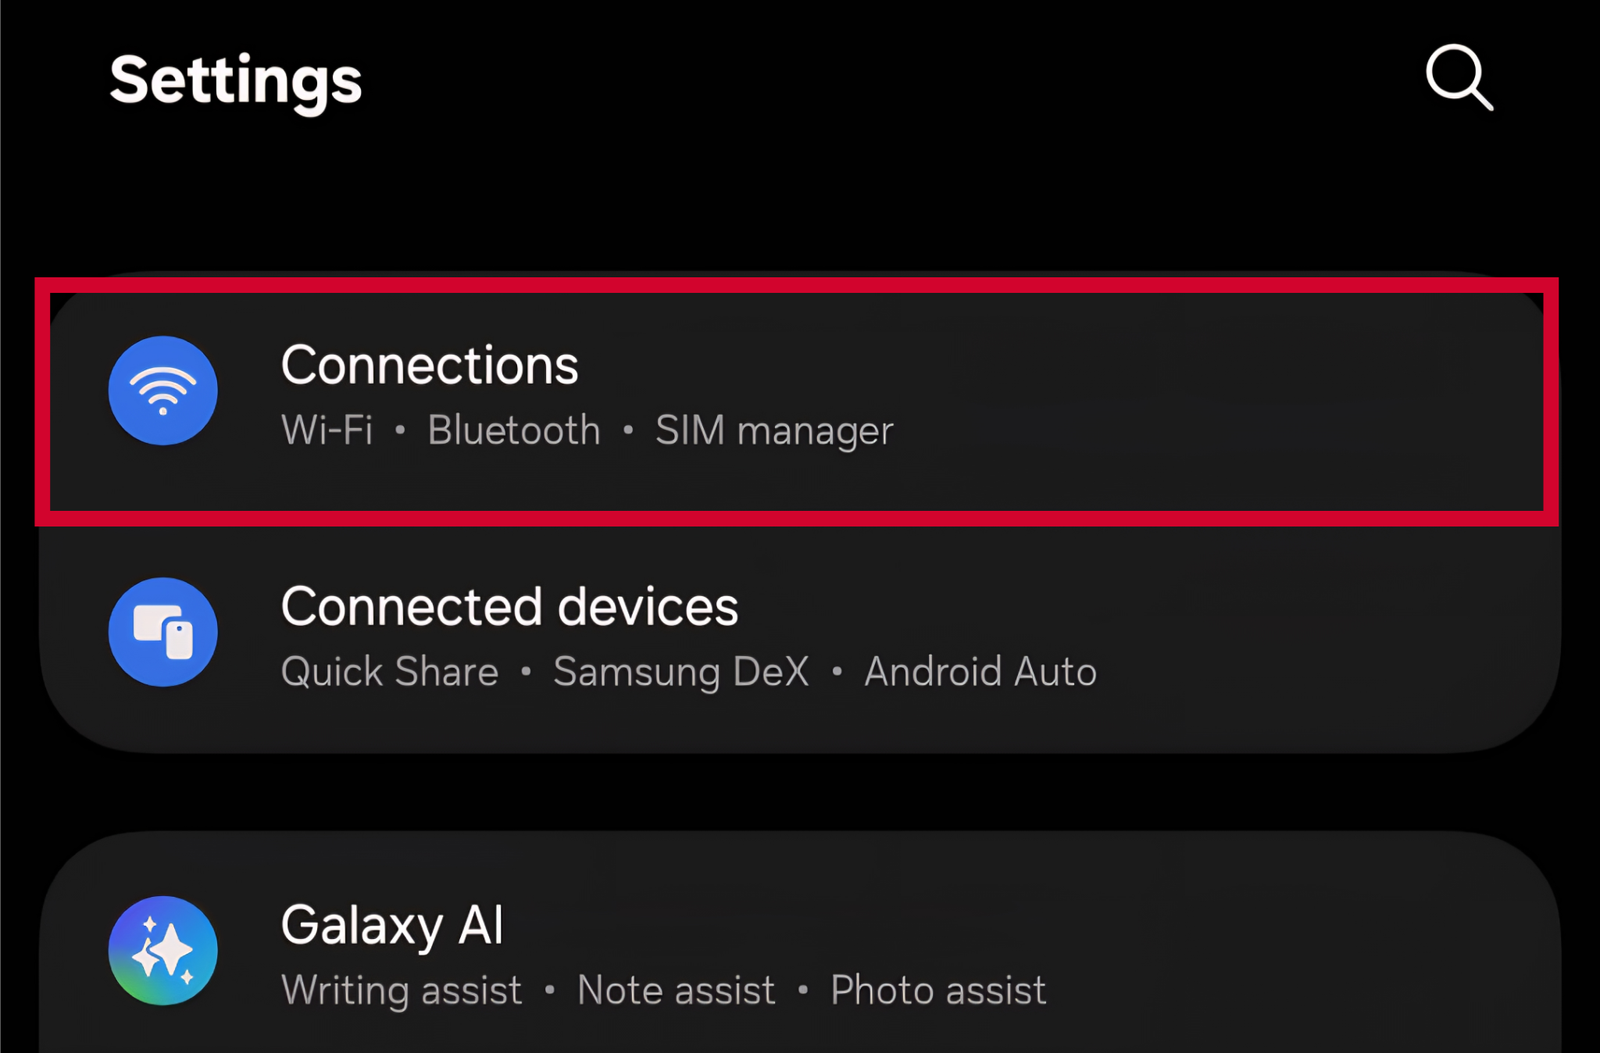
Scroll down and select “Network & Internet” or “Connections” depending on your device.
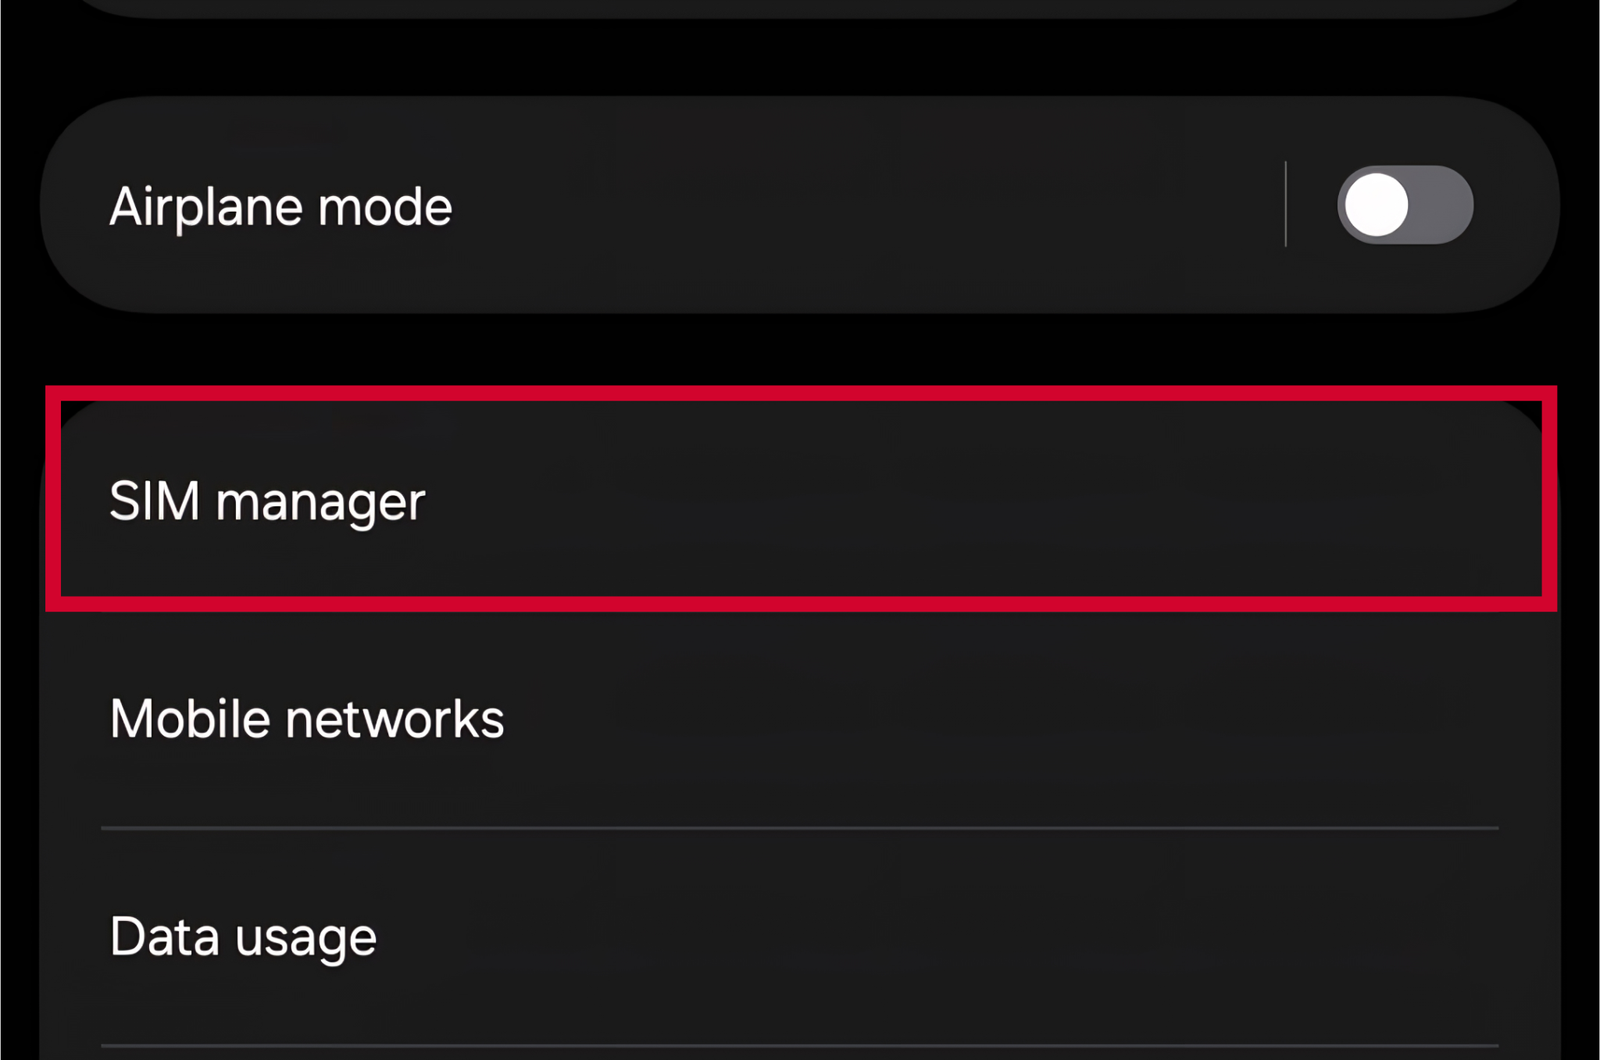
Tap on “Mobile Network”, “SIM Cards”, or “SIM Manager” to access SIM settings.
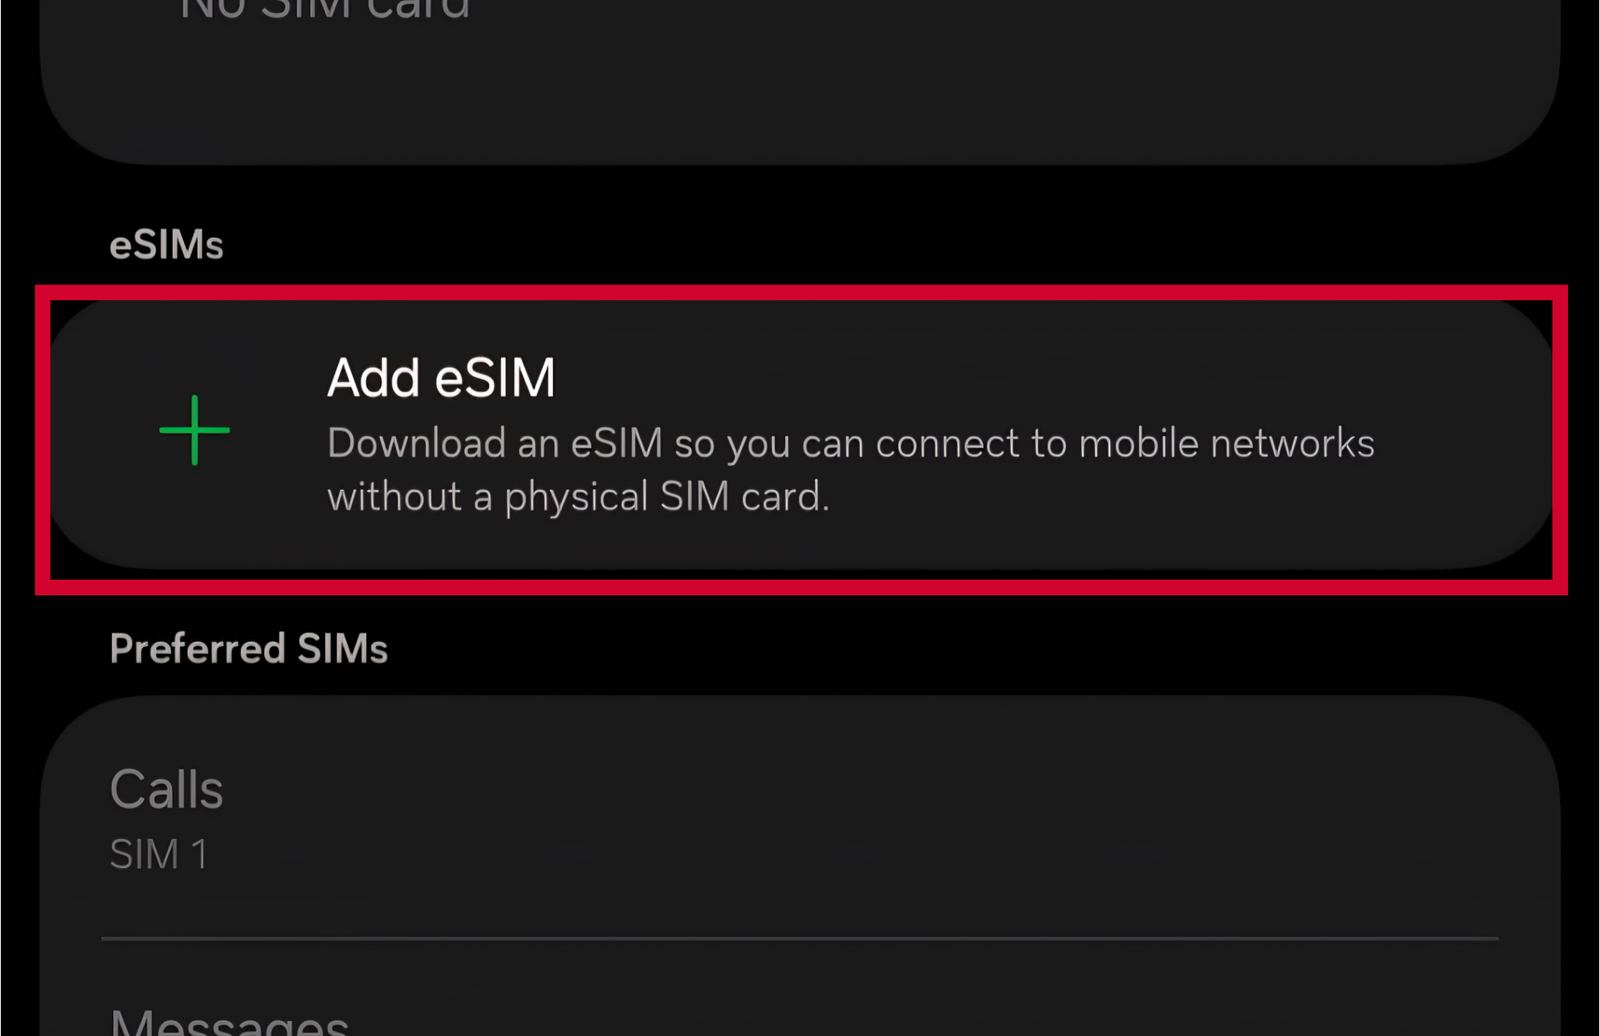
Select “Add carrier”, “Add eSIM”, or the “+” button to begin adding your new eSIM.
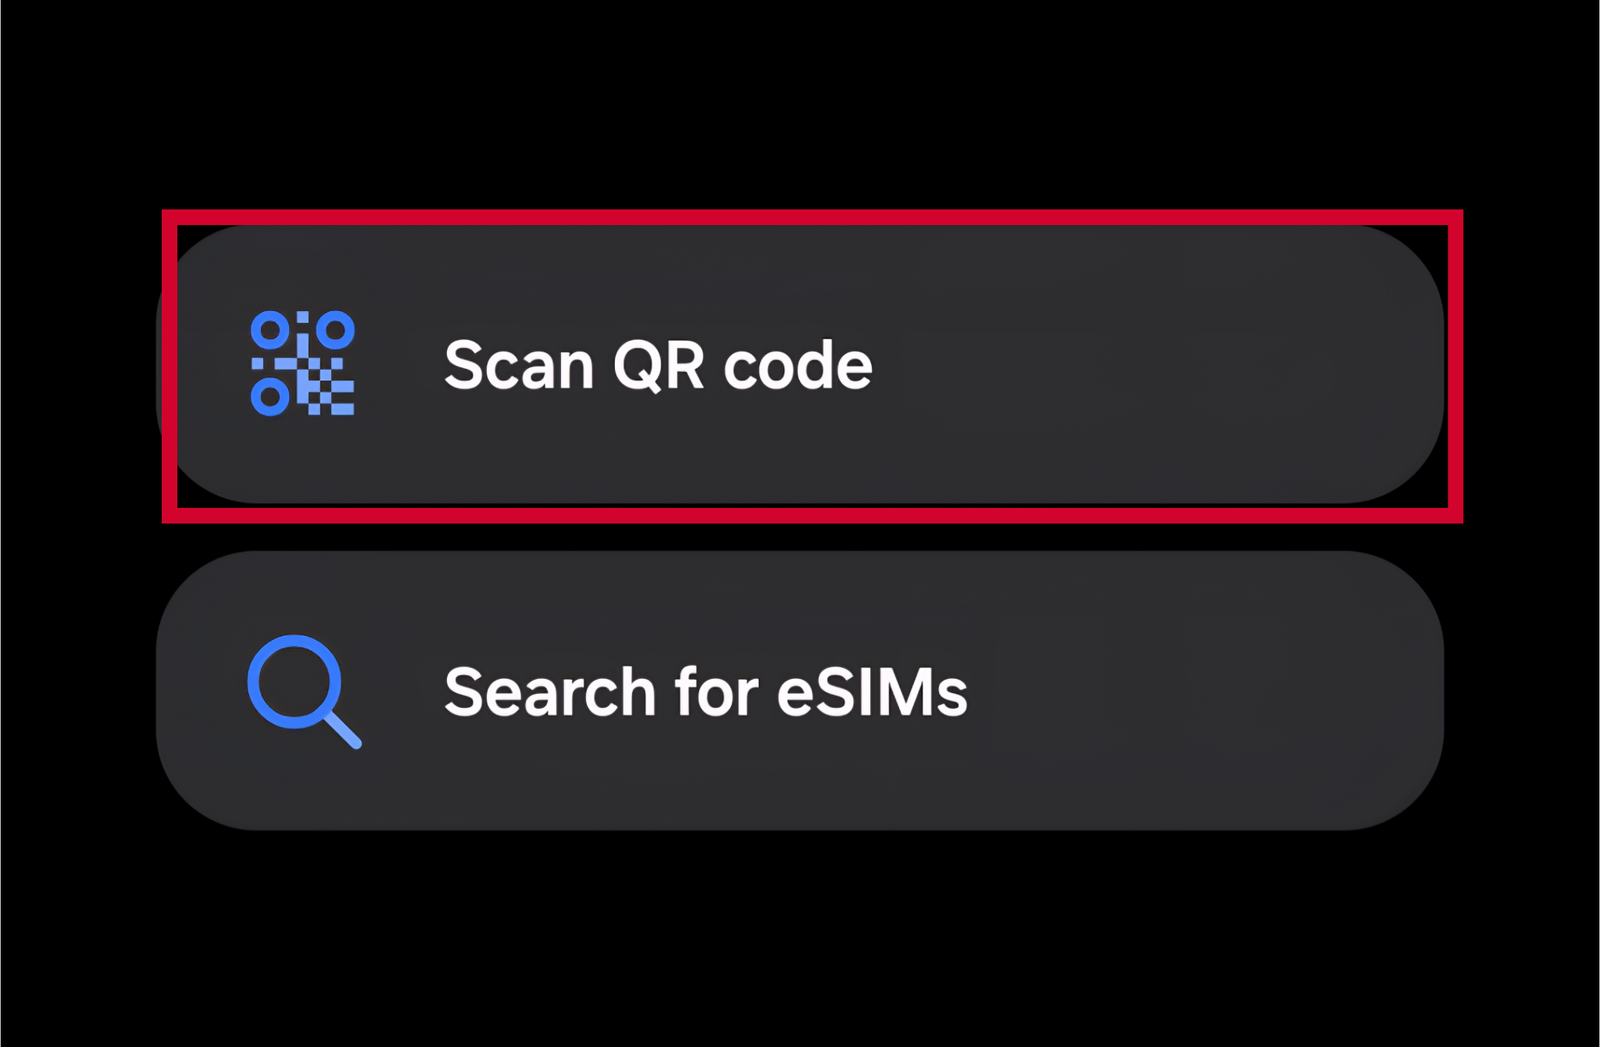
Use your camera to scan the QR code provided by your carrier, or enter activation details manually.
Follow the on-screen instructions to complete the installation and configure your new eSIM.
You can follow the steps below or use Direct Install on iOS.
Tap on “Cellular” or “Mobile Data” to access your cellular settings.
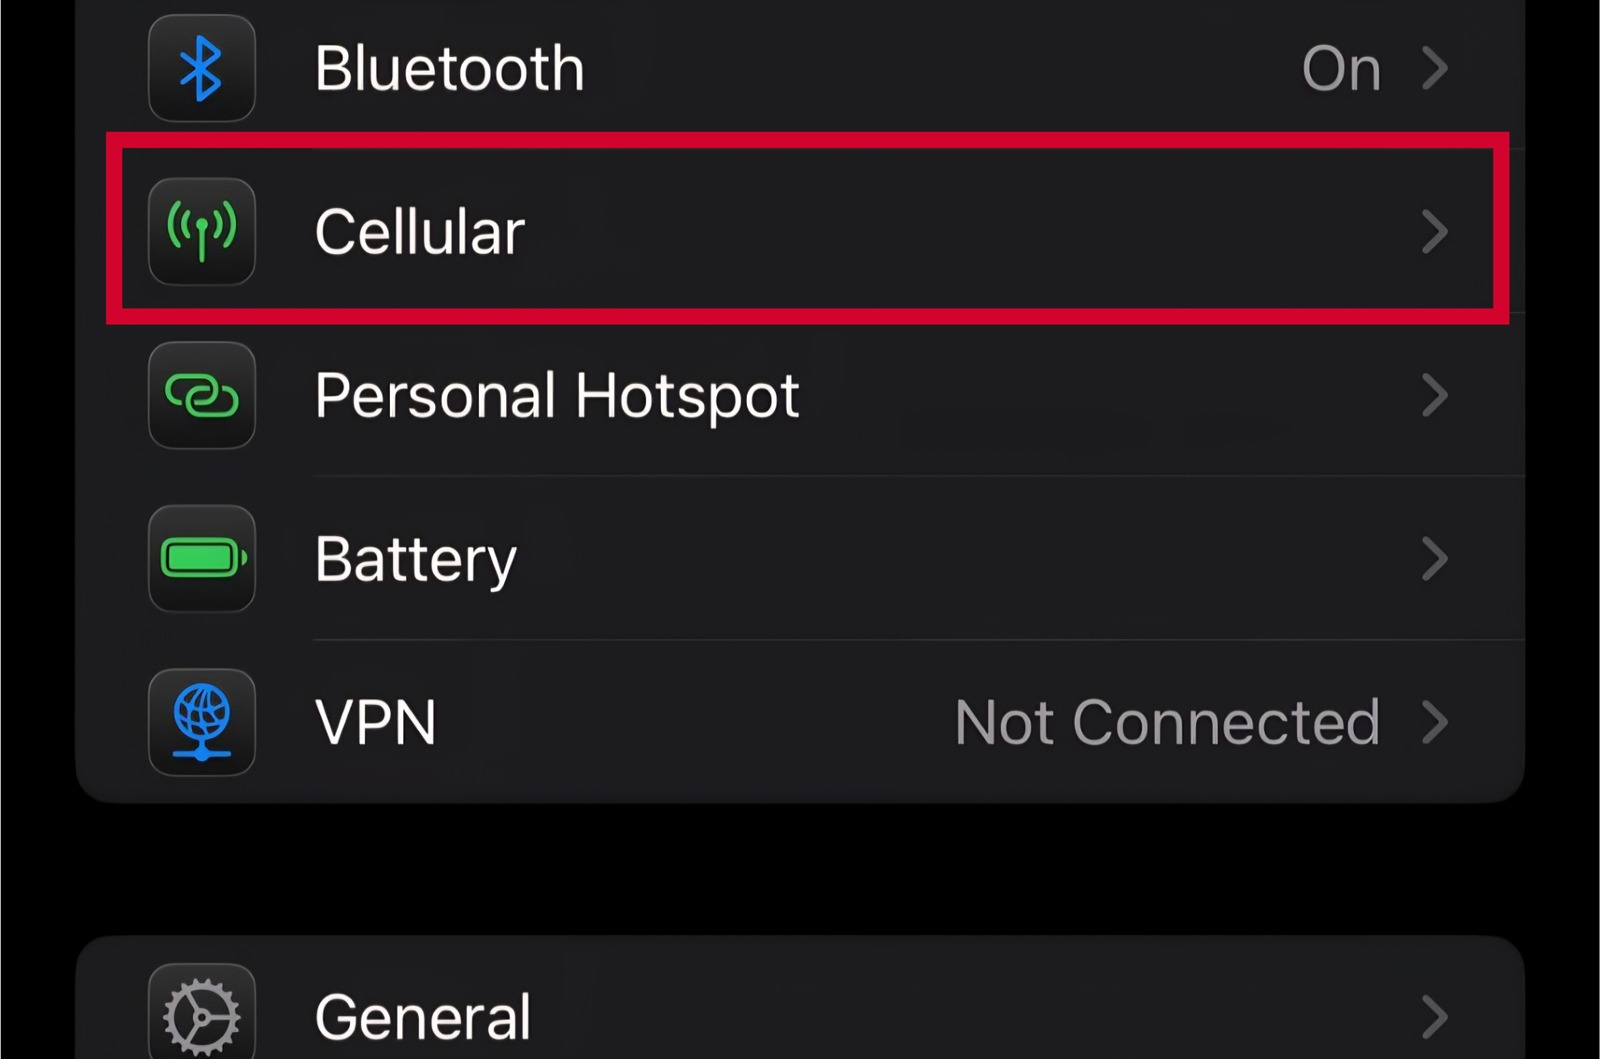
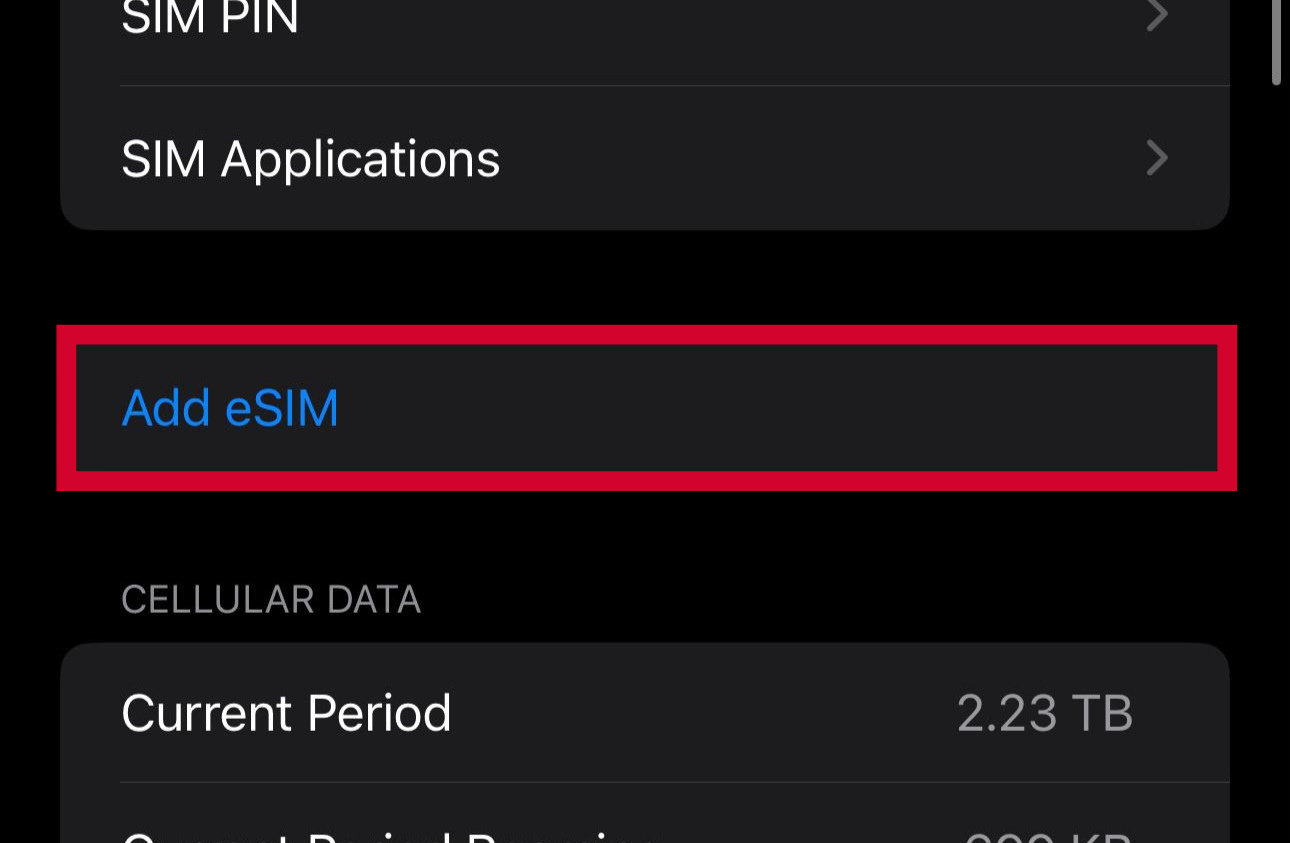
Select “Add eSIM” or “Add Cellular Plan” to begin the eSIM installation process.
Point your camera at the QR code provided by your carrier.
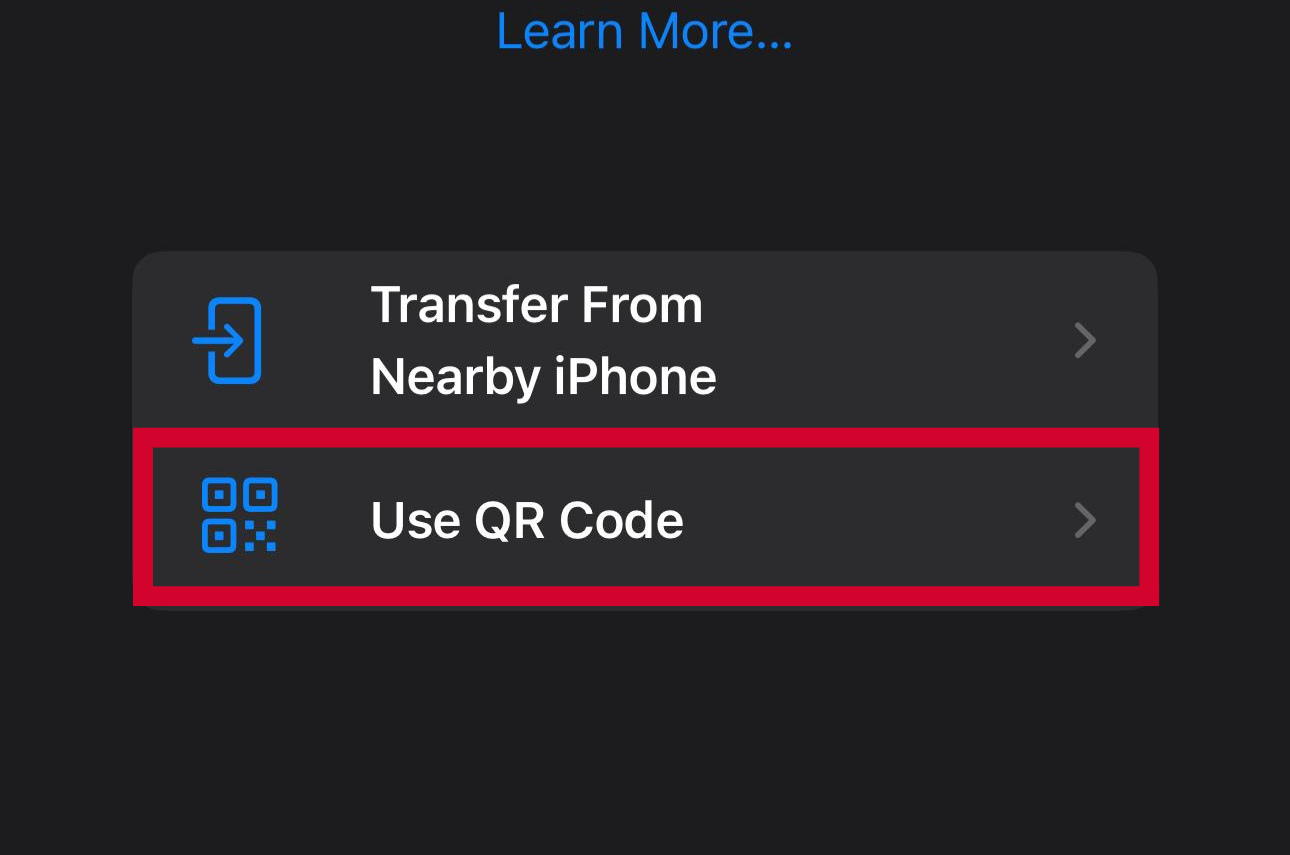
Your eSIM will activate automatically. Just follow any remaining prompts to complete setup.